The urgent problem clinics face
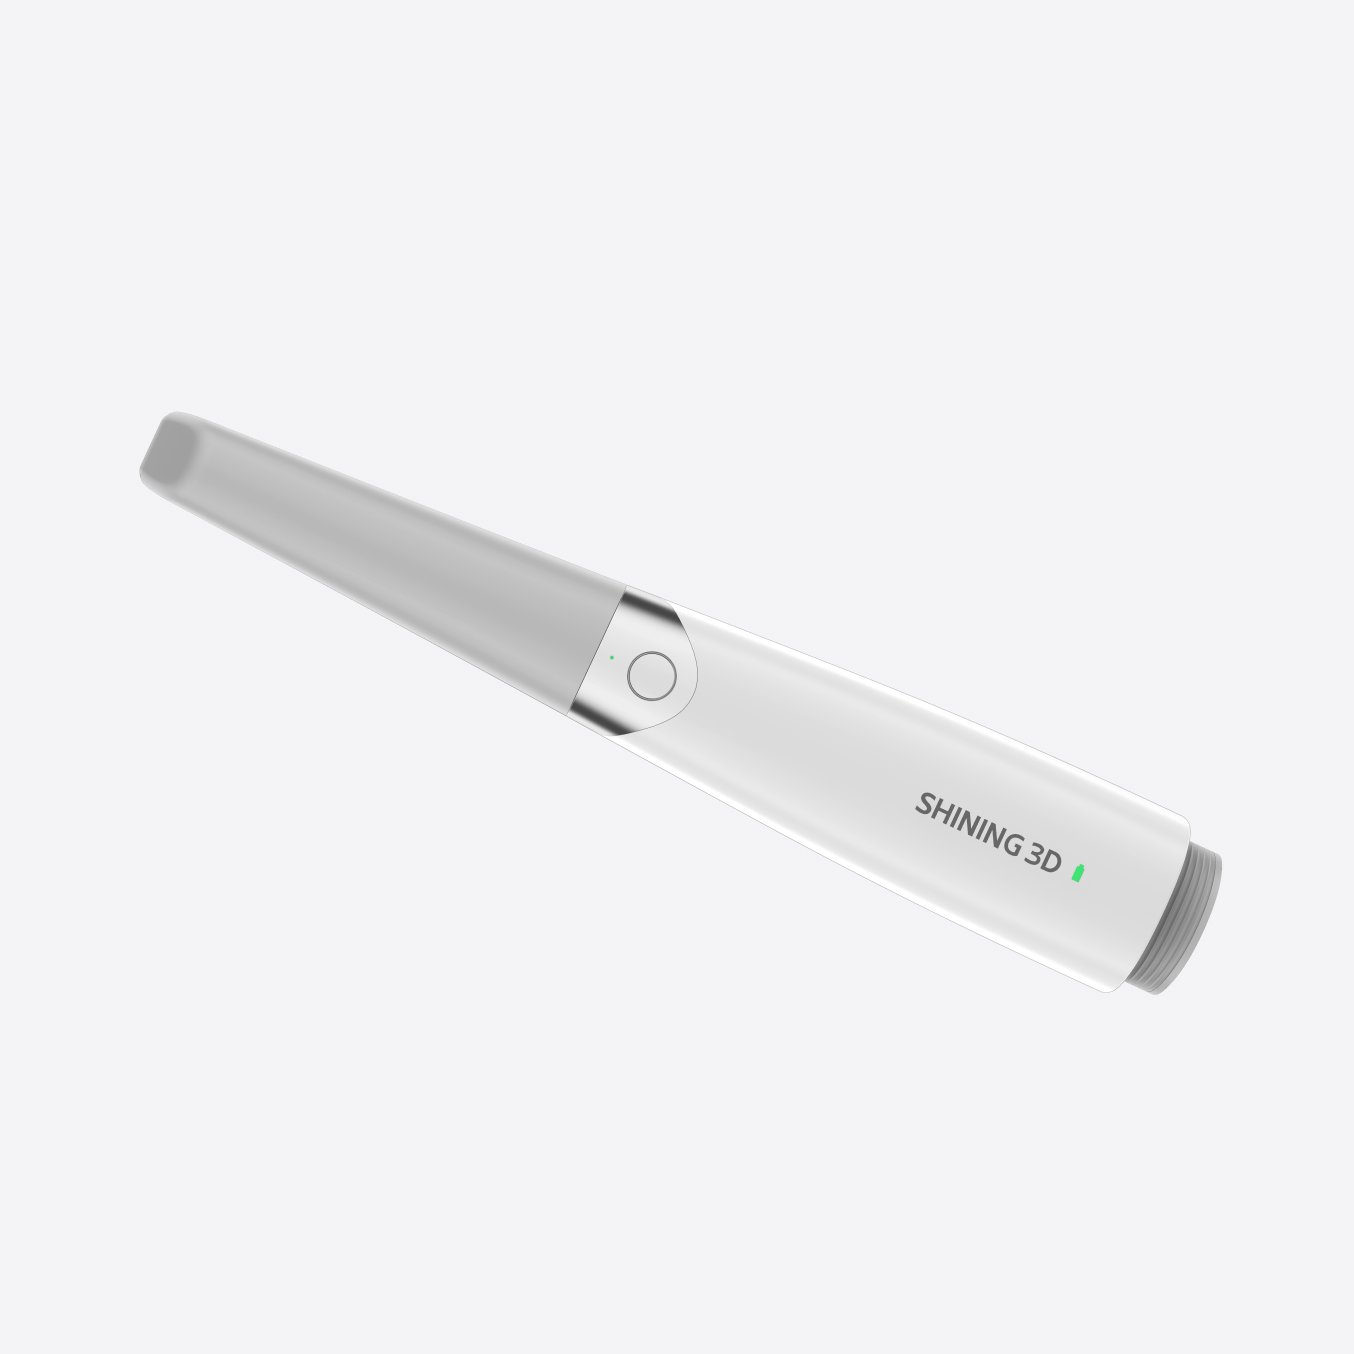
Too many crown and bridge cases stall because impressions go wrong, communication between clinic and lab breaks, or the fit turns up short at try-in — and that wastes time, money and patient trust. For clinics switching from plaster to digital, the single biggest choke point is capture: an uneven scan, missed margins, or a shaky bite record. That’s where a good intraoral scanner makes the difference, but not by itself. Seen widely at IDS Cologne, the new workflows built around a dental intraoral scanner showed clinicians how capture quality determines the whole chain — from design to final cementation.
Root cause: where crown and bridge trips up
Problem-driven view: the failure usually starts in capture and compounds downstream. Poor soft-tissue management, incomplete margin capture, and inconsistent occlusion records create relines, remakes and long chair time. Labs then guess contacts or over-polish to mask misfits. Top-grade materials and experience can’t fix a missing margin. Fix the first step and the rest flows.
What successful clinics changed first
They focused on three things: repeatable capture technique, calibrated scanner settings, and clear lab prescriptions. Train one primary scanner operator. Set a checklist: isolate, retract, dry, scan margins, verify occlusion. Use bite stops or cotton rolls when needed. Small discipline — big returns. Clinics that adopt this consistently report faster try-ins and fewer remakes because the digital file already contains the information the technician needs.
Common mistakes that slow the case
Practices chase the fanciest software without fixing basics. They scan too fast, miss margin detail, or hand off vague instructions: “Make it fit.” Labs get incomplete STL files or mixed-up bite records. Another error is skipping a quick lab preview: a five-minute review of the design files catches obvious issues. Stop guessing; address the obvious gaps early.
Alternatives and quick evaluations
Choice matters. Optical scanners give speed and patient comfort; powderless devices avoid artifacts but need soft-tissue control. Some chairside milling systems work for single crowns; full-arch bridges still thrive with lab collaboration. If you want predictability, pick a scanner with consistent scan accuracy and an open workflow so labs can import files without conversion loss. Ask your lab which formats they prefer and test a real case together before a full switch.
Practical step-by-step workflow that solves the problem
1) Prep and communication: Take shade photos, mark margins, and send concise notes. 2) Capture: Retract, dry, scan the margin twice if needed, then do the occlusion scans. 3) Review: Open the raw file, check margins, and annotate any areas. 4) Send: Include notes on contacts and finish line, and share bite scans. 5) Lab check: Request a digital mock-up preview or STL approval. Fixes at the design stage avoid remakes. Keep the loop tight: short feedback cycles save hours.
Quality checks and the mistakes to avoid
Always verify margin continuity on the 3D model before design. Never skip a quick patient try-in when the lab suggests it—the try-in prevents bad cementation. Beware of over-polishing to mask contact issues; tight contact should be planned, not corrected late. Record each step and track remakes to spot recurring problems.
Experience-based trust: what professionals rely on
Clinicians trust devices that deliver consistent scans under real clinical conditions and labs that accept open formats. Practical experience shows that teams who standardize capture technique and share responsibility cut remake rates sharply. This isn’t theory — it’s a simple loop: reliable capture, clear instructions, lab validation, brief try-in, final cementation.
Synthesis: the straightforward solution
Fix the start and the rest will follow. Treat the scan as the single source of truth, train one operator, demand clear lab previews, and keep the feedback tight. That approach turns repeating failures into predictable restorations, and that’s why clinics move toward systems proven in everyday practice — systems represented by SHINING 3D DENTAL as a practical partner in making those first steps reliable and repeatable.