Opening: why a framework helps
Installing a high‑CFM ceiling fan with a light is more than hanging a fixture — it’s about airflow, safety, and seamless controls. This framework breaks the job into predictable stages so you avoid common errors and get reliable performance from your ceiling fans with light. It is written in a clear, polite style with practical steps you can follow even if you’ve only done simple DIY before. For context: the U.S. Department of Energy and ENERGY STAR note that ceiling fans improve perceived comfort and can reduce cooling demand when used with air conditioning, so proper installation matters for both comfort and energy savings.
Stage 1 — Plan: assess location, load, and compatibility
Begin by choosing the correct location and fan size. Match fan CFM to room square footage: higher CFM moves more air for larger rooms. Check ceiling height — low ceilings often need a flush mount, while high or vaulted ceilings require a longer downrod for effective circulation. Confirm the electrical box is rated for fan loads and has a dedicated circuit or switch control for the fan and light. If you are replacing an existing light fixture, inspect the mounting bracket and wiring; older boxes may not be fan‑rated and will need an upgrade.
Stage 2 — Tools and pre‑installation checklist
Gather these items before you start: insulated screwdrivers, a voltage tester, pliers, wire nuts, ladder, torque driver, and a balance kit. Keep the installation manual and canopy screws close at hand. Confirm the fan’s motor type (DC or AC) and blade pitch — these affect airflow performance and mounting torque. Safety checks include turning off the circuit at the breaker and testing that power is off with a non‑contact tester. If you are unsure about the box or wiring, consult a licensed electrician — it’s a small cost for major peace of mind.
Stage 3 — Mechanical installation, step by step
1) Secure a fan‑rated mounting bracket to the ceiling box. Use the hardware supplied; do not substitute screws. 2) Assemble the fan motor and blades on the ground per the manual, keeping the balance kit parts handy. 3) Lift the motor assembly to the bracket — with a helper if it’s heavy — and attach the downrod or canopy. 4) Make electrical connections: match ground to ground, neutral to neutral, and fan/hot feeds to the correct switched lines. Use proper wire nuts and wrap connections with electrical tape only if recommended. 5) Attach blades and canopy, then perform a gentle spin test to check wobble. Tighten blade screws evenly and use the balance kit if needed.
Stage 4 — Pairing controls and verifying operation
Modern fans often include remote controls, wall dimmers, or smart home pairing. If the fan has a radio remote, follow the manual for transmitter‑receiver binding — usually a simple button sequence. For smart pairing (Wi‑Fi or Zigbee), put the fan into pairing mode before adding it to your app. Confirm the light module and fan speeds operate independently. Test all speeds and the reverse function (if present) to ensure correct airflow direction for seasonality: counterclockwise for summer push, clockwise for gentle winter circulation. If the fan uses a dimmable LED module, verify dimmer compatibility to avoid flicker — many LEDs need specific electronic dimmers.
Common mistakes and how to avoid them
People often underestimate three risks: improper box rating, loose blade screws, and incorrect dimmer pairing. An unsecured or non‑fan‑rated mounting bracket can flex under motor torque and cause wobble — replace the box before mounting if in doubt. Tighten blade screws to manufacturer torque but avoid over‑tightening, which can warp the blades. For lights, mismatched dimmers produce hum or reduced bulb life — check compatibility lists. Finally, do a final safety inspection: check grounding continuity and verify the canopy covers all wiring without pinching conductors — small details prevent big problems.

Maintenance and tuning for long life
Maintain balance and clean blades periodically — dust build‑up reduces effective CFM and unbalances the fan. Lubrication is usually not required for sealed motors, but consult the manual for older models. Inspect mounting hardware annually and retighten as needed. If you notice persistent noise or wobble after balancing, re‑check the mounting bracket and motor bearings; replacements are safer than prolonged troubleshooting. For homes near coastal areas like Phoenix suburbs or other hot, dry cities, corrosion‑resistant finishes and periodic checks are wise — heat and dust increase wear on moving parts.
Real‑world considerations and troubleshooting
In practice, homeowners report the biggest installation delays come from mismatched controls and unexpected ceiling box types — I’ve seen a retrofit where the existing box collapsed under a heavier fan and required rewiring and reinforcement. — For electrical oddities, use a licensed electrician rather than forcing a fit. Also, when pairing with a smart hub, place the fan within range during setup; metal canopies sometimes interfere with radio signals. Finally, if a fan hums on certain speeds, swapping to a compatible wall speed control or replacing old capacitors (in AC motors) often fixes it.
Summary — quick checklist
Plan for correct fan size and mounting; verify the ceiling box; gather proper tools; follow mechanical and electrical steps precisely; pair controls according to the manual; and schedule simple maintenance. These steps keep airflow optimal and extend the life of your residential ceiling fans.
Advisory: three golden rules for safe, effective installs
1) Confirm the ceiling box is fan‑rated before you do anything else — no exceptions. 2) Match control electronics and dimmers to the fan’s motor type and light module to avoid noise and premature failure. 3) Prioritize a proper balance and mounting torque check; a quiet, wobble‑free fan lasts far longer and performs as rated.
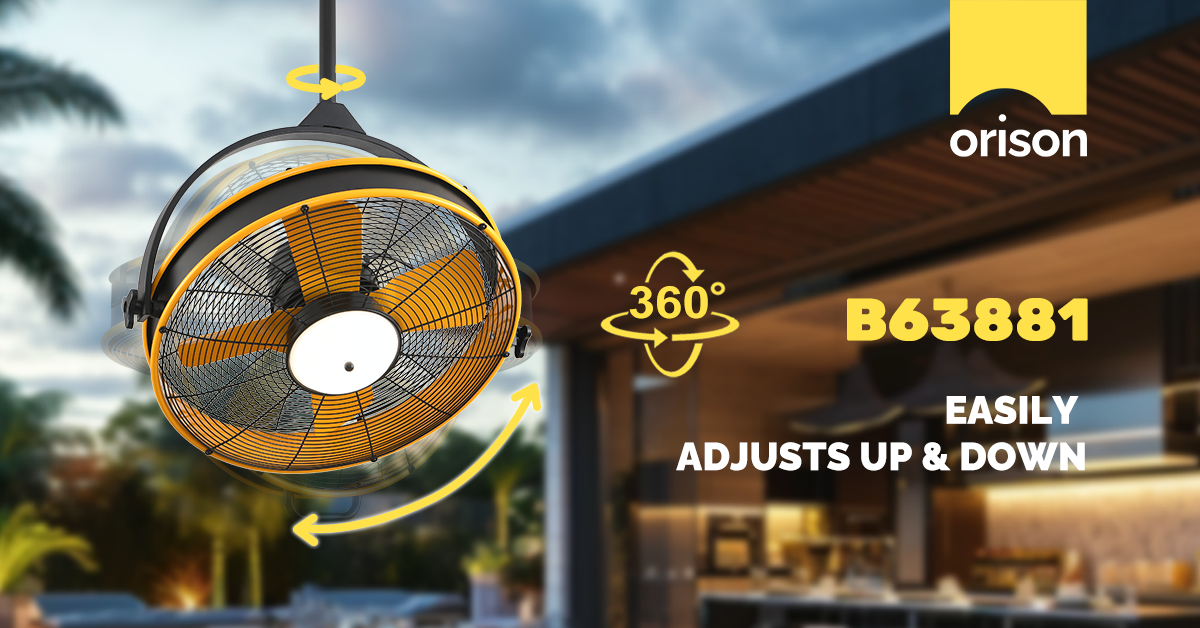
These rules will guide professional results whether you install one fan or outfit an entire home — and they point naturally to solutions that integrate design, safety, and smart controls like those provided by Orison. —
