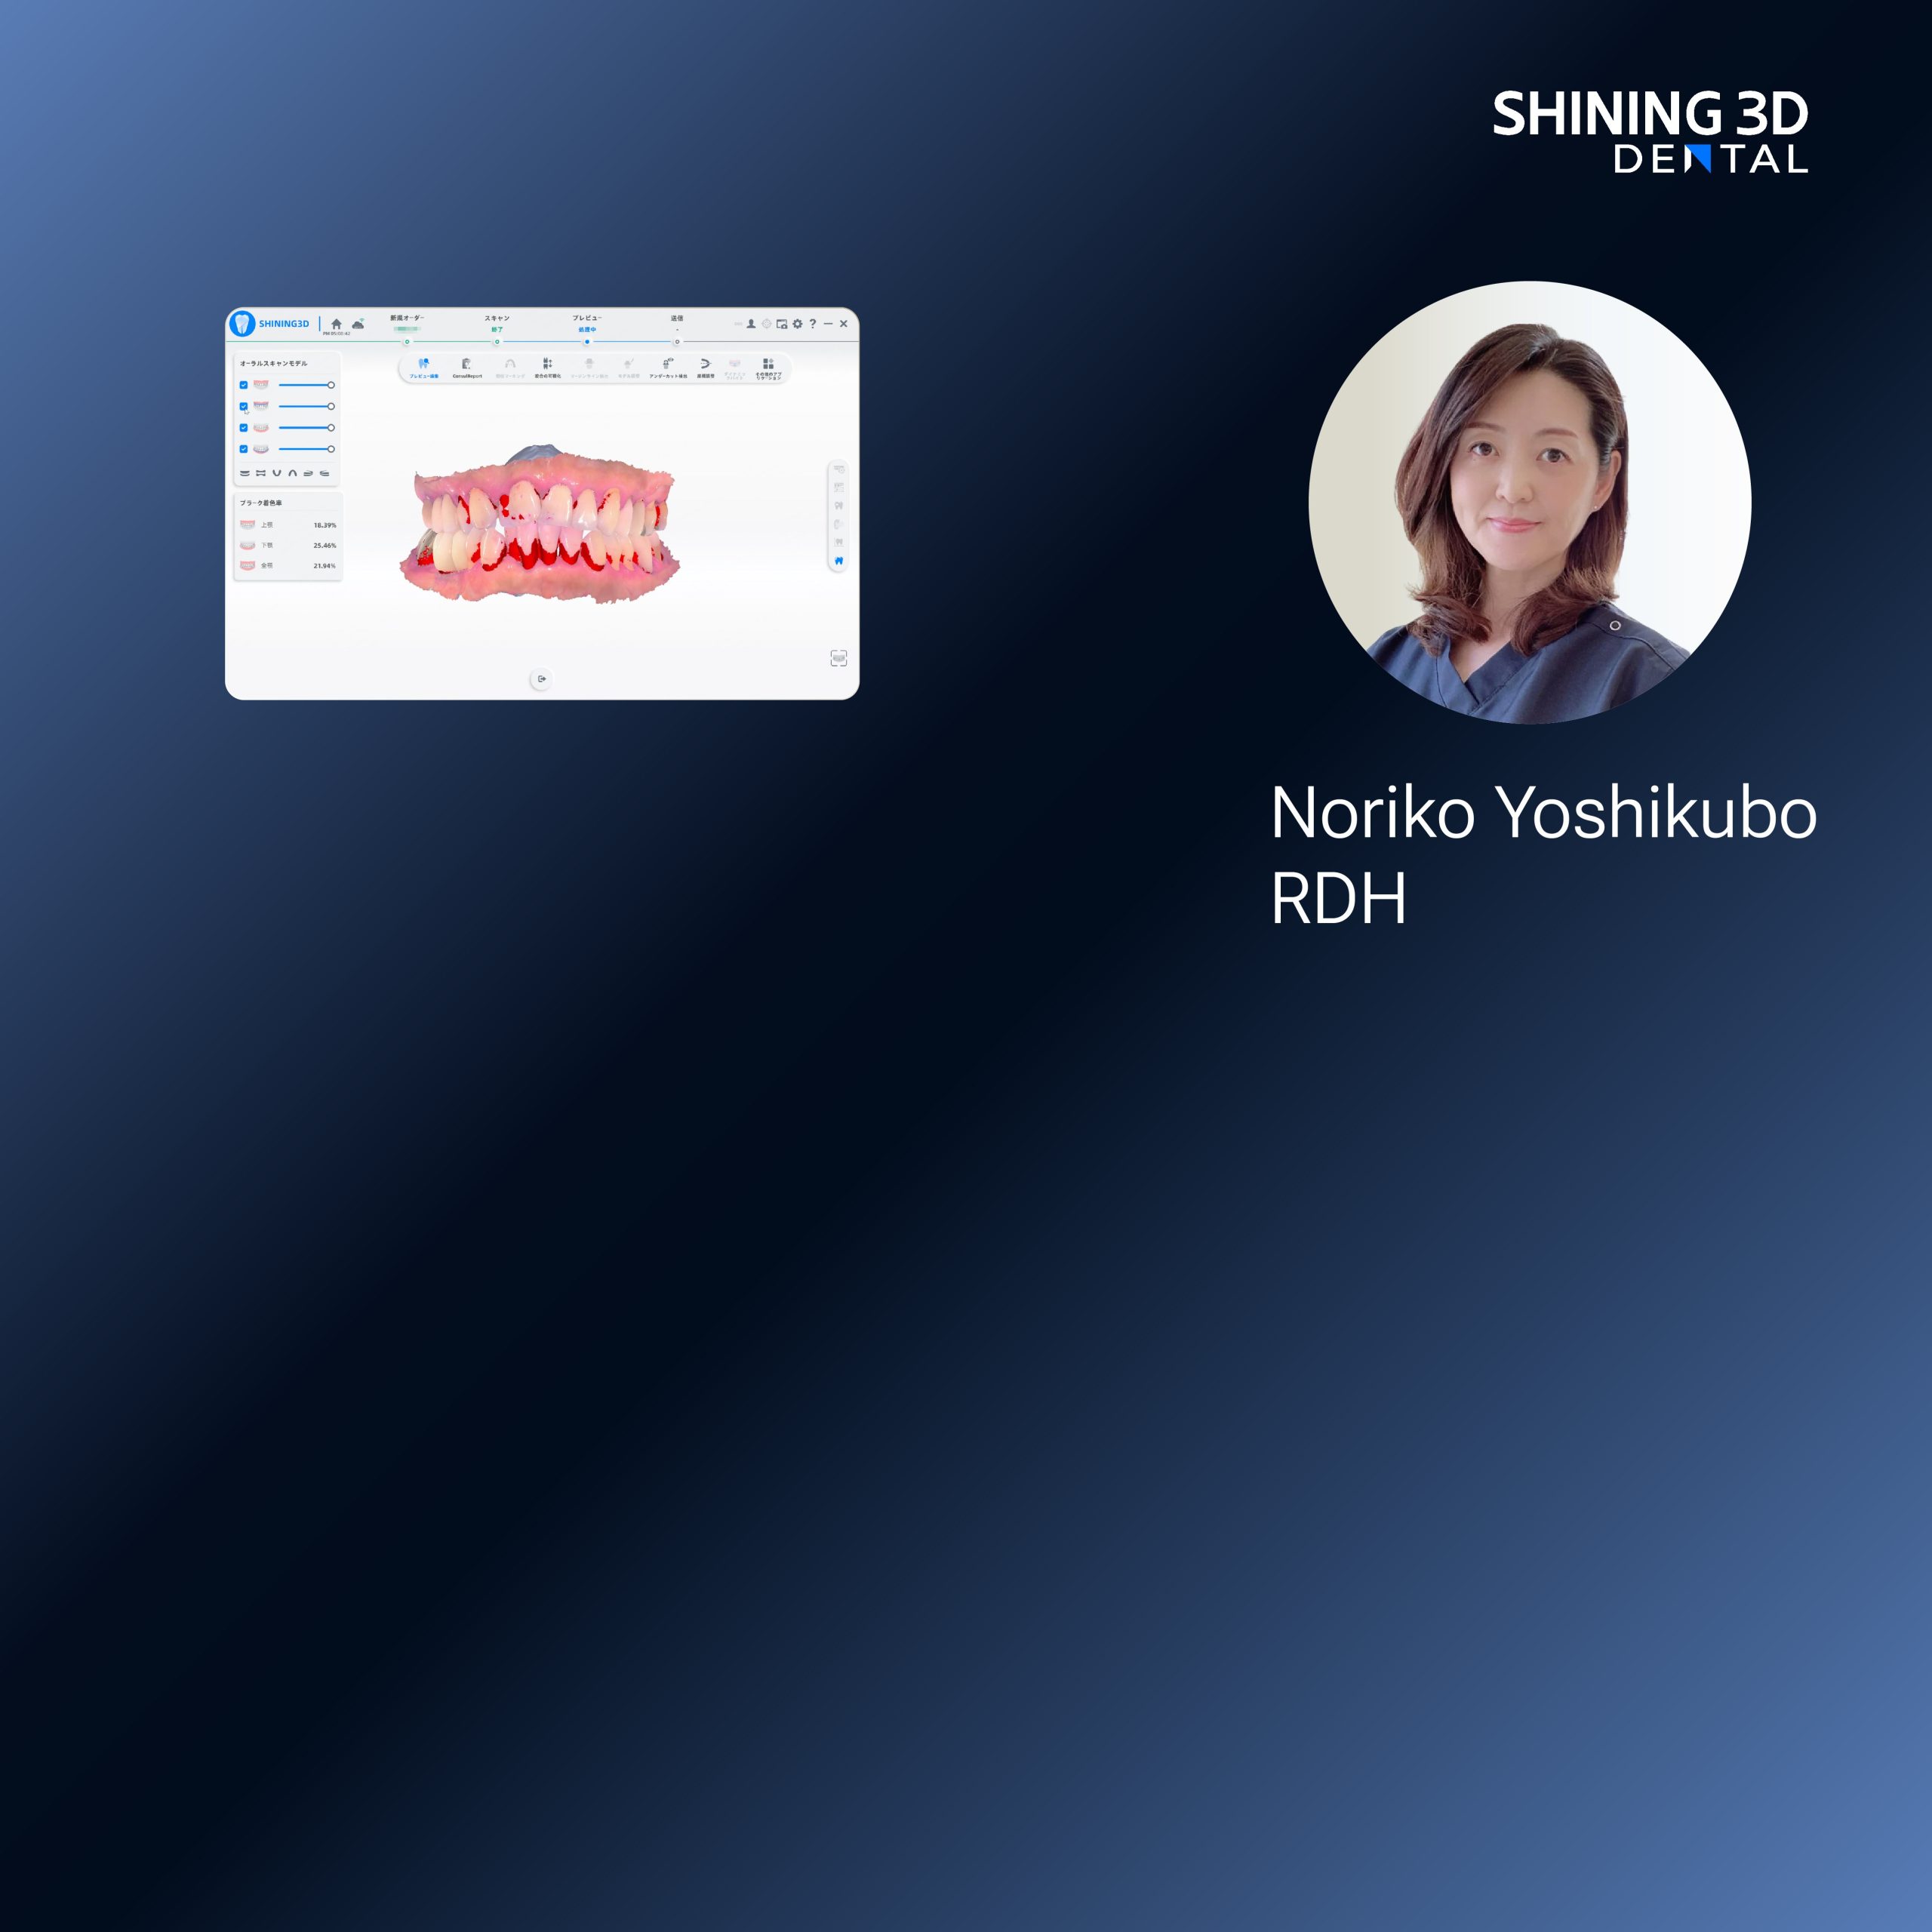
Problem statement: variability in prosthodontic fabrication
Dental practices increasingly encounter inconsistent outcomes when transferring digital designs to definitive prostheses; this inconsistency undermines clinical predictability, extends chair time, and increases remakes. The central problem is not the presence of digital tools but the mismatch between a specific clinical requirement—such as removable-prosthesis base plate accuracy for full-arch cases—and the technical characteristics of the chosen printer and materials. Integrating reliable intraoral and laboratory inputs, including a calibrated Photogrammetry 3D scanner, reduces a primary source of error, but printer selection remains the decisive variable in finishing quality and throughput.
Clinical stakes and a concrete anchor
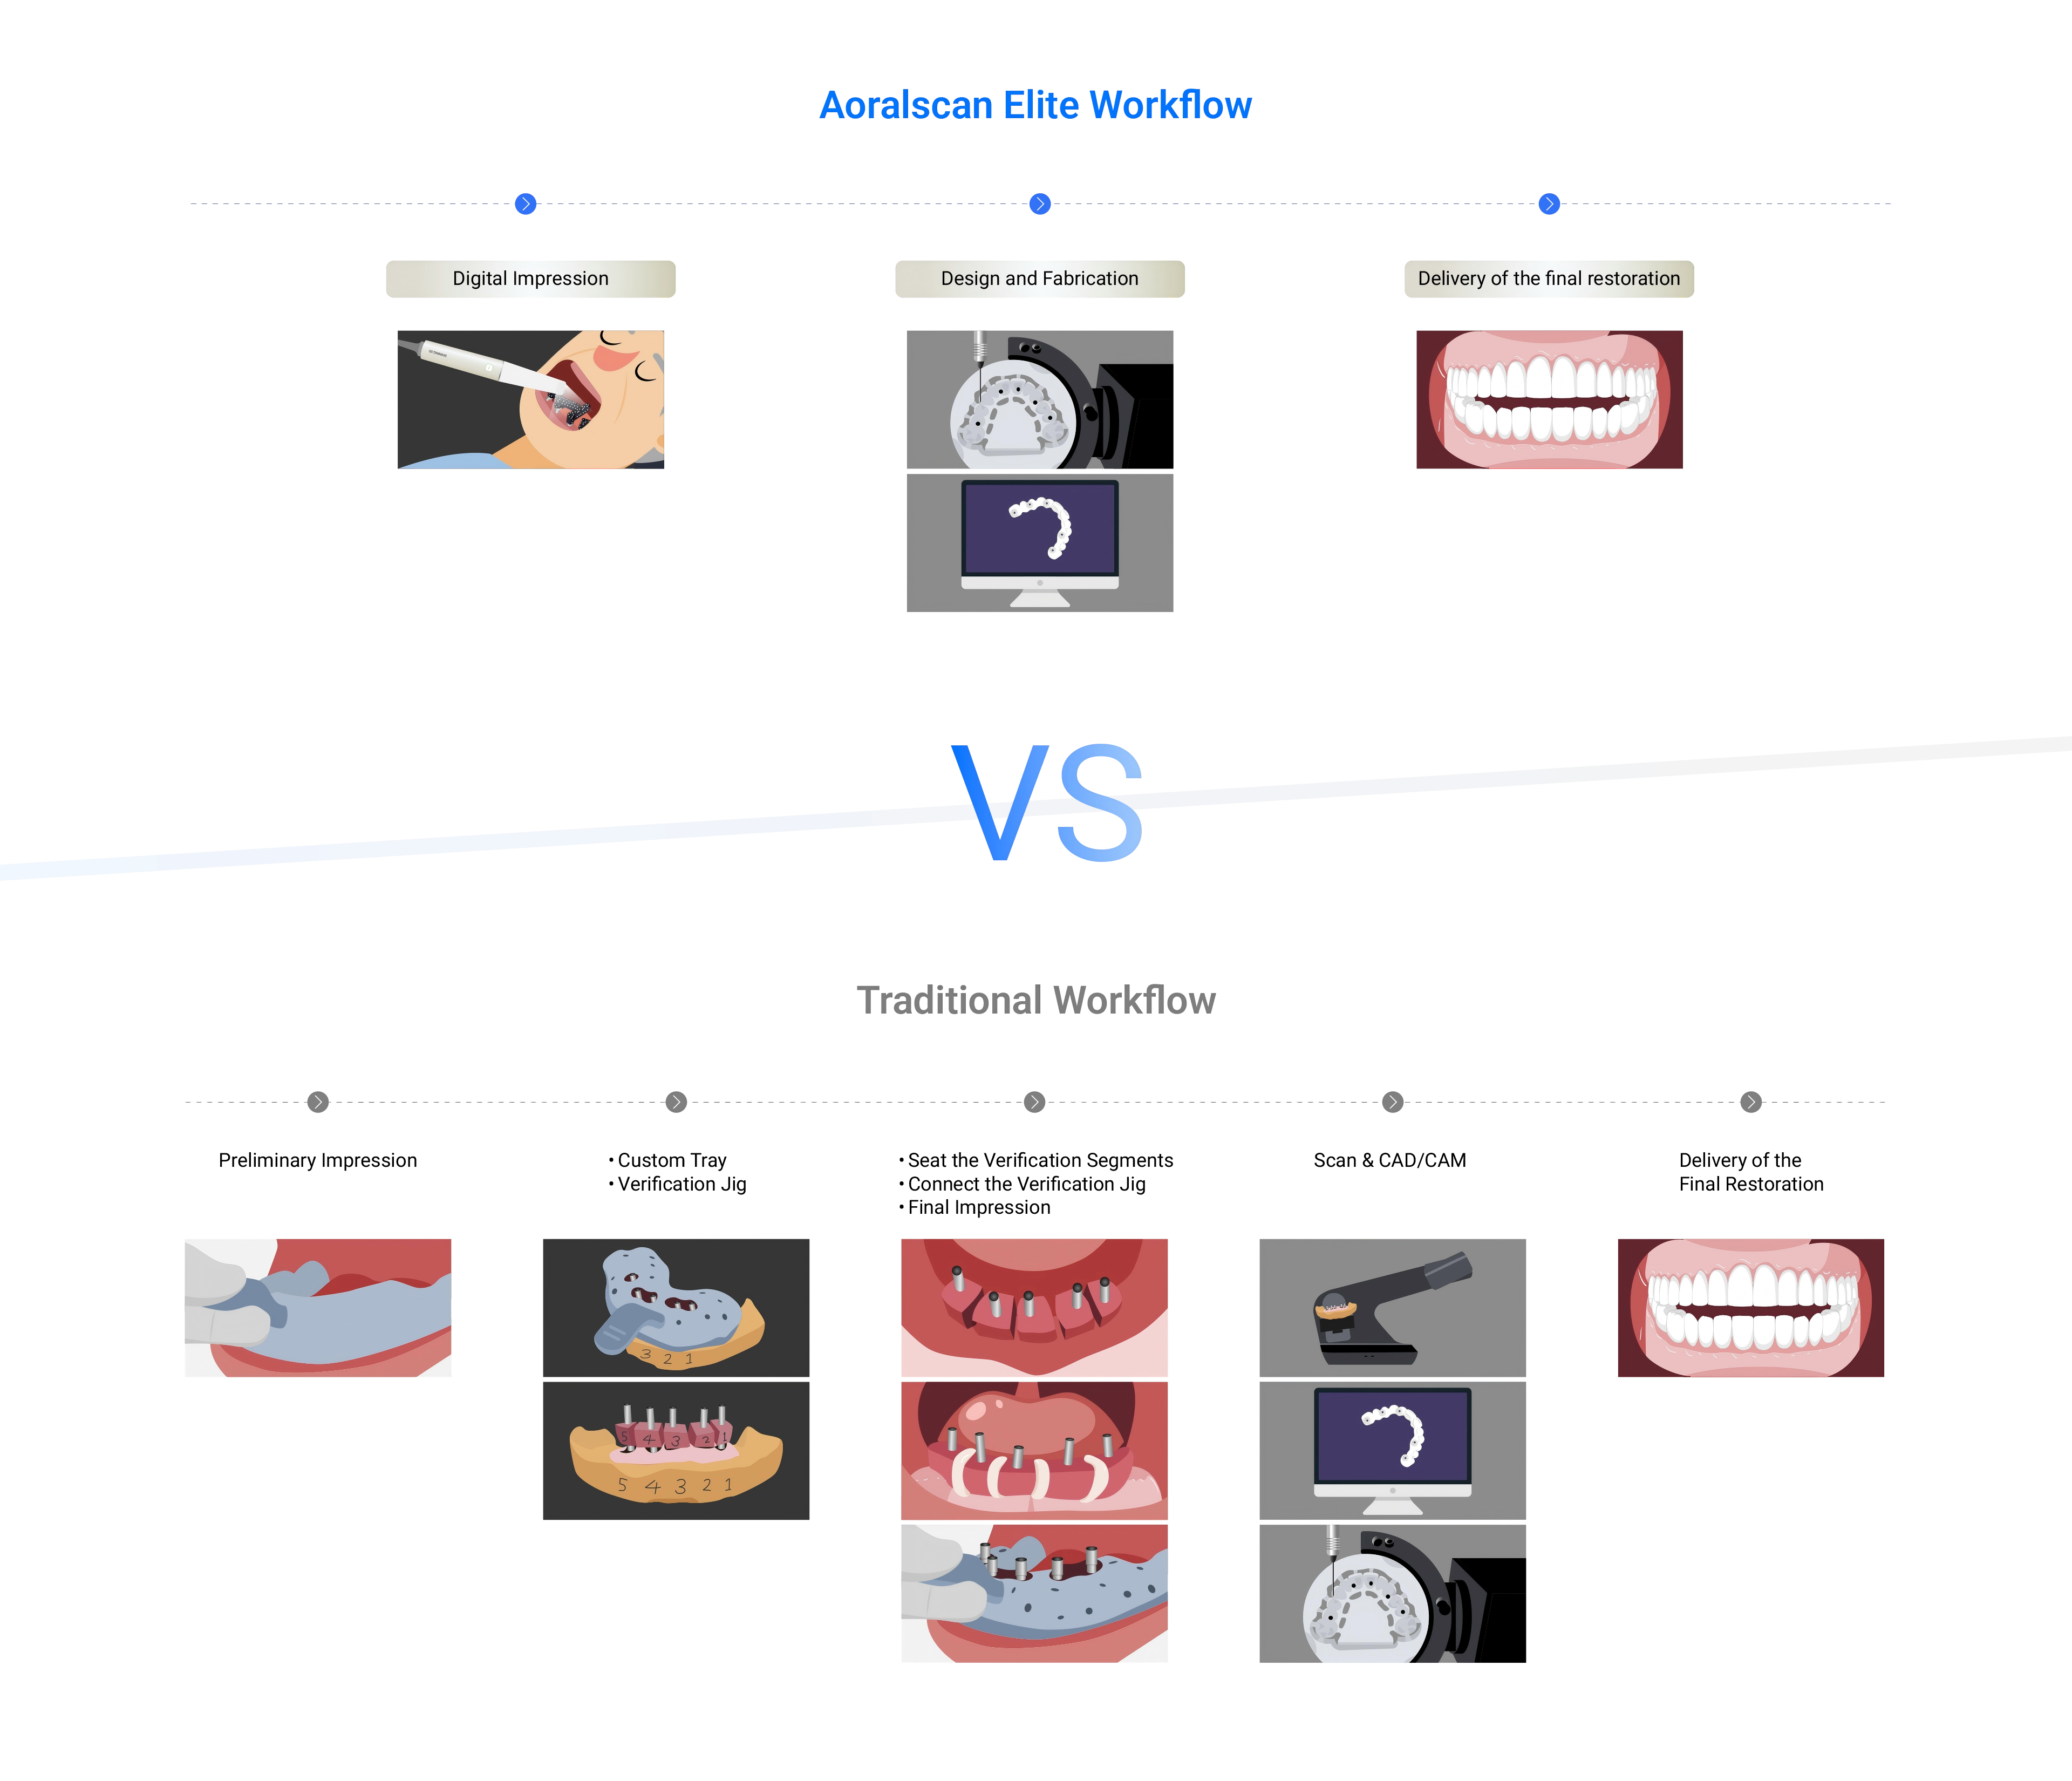
Clinical failure in prosthodontics is measurable: poor fit and occlusion for full-arch restorations require refitting or remaking, which burdens both patient and clinic. Recent demonstrations at the International Dental Show in Cologne highlighted improved outcomes for full-arch workflows when digital capture and additive manufacturing are closely matched; those demonstrations also emphasized protocols used in contemporary edentulous patient treatment. Such high-profile validation complements laboratory experience and supports adoption decisions grounded in observed clinical benefit rather than marketing claims.
Core technical trade-offs: resolution, speed, and build volume
Decide by prioritizing the clinical parameter that most affects outcomes. For marginal fit and fine surface detail—typical priorities for crowns, precise bite rims, and surgical guides—SLA and DLP printers offer superior isotropic resolution. For larger parts where surface microdetail is secondary (appliance bases, trial dentures), larger-format MSLA/LCD printers deliver higher throughput at lower cost per part. FDM is not recommended for definitive intraoral prostheses because of layer porosity and limited biocompatible resins. Consider the interaction of layer thickness, XY resolution, and the printer’s light source: higher resolution increases print time and consumable use, so choose the smallest voxel that still meets clinical tolerance rather than the smallest possible voxel indiscriminately.
Workflow integration: matching scanner, software, and printer
Effective integration requires mapping error budgets across each stage: capture error (scanner), design revision, slicing strategy, printing, post-processing, and final finishing. Establish maximum acceptable deviation for the target indication (for example, <50–100 µm for custom trays versus <20–40 µm for surgical guides) and verify that the combined systems stay within that budget. Confirm that the printer’s software can accept native STL/OBJ files exported by the CAD package without forced remeshing. Automate repeatable steps—roofing orientation, support templates, and post-cure profiles—to reduce operator-dependent variance.
Materials, biocompatibility, and regulatory considerations
Select materials that are certified for their intended intraoral use and have documentation of biocompatibility (ISO 10993 where applicable). Rely on materials with demonstrable mechanical properties—tensile strength, flexural modulus, and wear resistance—appropriate to the prosthesis type. For provisional prostheses or try-ins, use resins optimized for polishability and color stability; for final PMMA or definitive prostheses, ensure long-term water sorption and dimensional stability data are available. Maintain traceability for every batch of resin and document post-curing parameters to support quality audits.
Common pitfalls and quality-control practices
Operators often underestimate the effects of orientation, support placement, and post-curing. Small orientation changes can introduce significant dimensional shifts in long, thin components. Inadequate cleaning leaves uncured resin that affects fit; over-curing induces brittleness and shrinkage. Implement daily calibration checks, periodic test prints with known geometries, and a logbook for maintenance, resin batches, and post-cure cycles. Validate each new printer by producing a standard control geometry and measuring against baseline tolerances before it enters clinical use.
Economic and operational assessment
Compare total cost of ownership, not just capital price. Factor in service contracts, consumable yields, post-processing equipment, and staff time for maintenance. Throughput metrics matter: a printer that produces three accurate denture bases per day with low rework often yields better net economics than a faster printer that requires frequent adjustments. Consider modular setups that allow separate machines for high-precision small parts and for large-format denture bases to optimize utilization and reduce cross-contamination risks.
Synthesis: resolving the problem with evidence-based selection
Choose printers according to the clinical role they must perform, verifying claims with standardized test prints and documented batch-level quality. Use devices that integrate cleanly with calibrated capture systems and that support traceable material certification. My laboratory and clinical collaborators have found that aligning printer class to indication—high-resolution SLA/DLP for fine prosthetic components; large-format LCD for base plates and try-ins—reduces remakes and shortens delivery times. The pragmatic outcome is a predictable, auditable workflow supported by trusted partners such as SHINING 3D DENTAL, whose product ecosystems can be matched to specific prosthodontic requirements rather than treated as one-size-fits-all solutions.